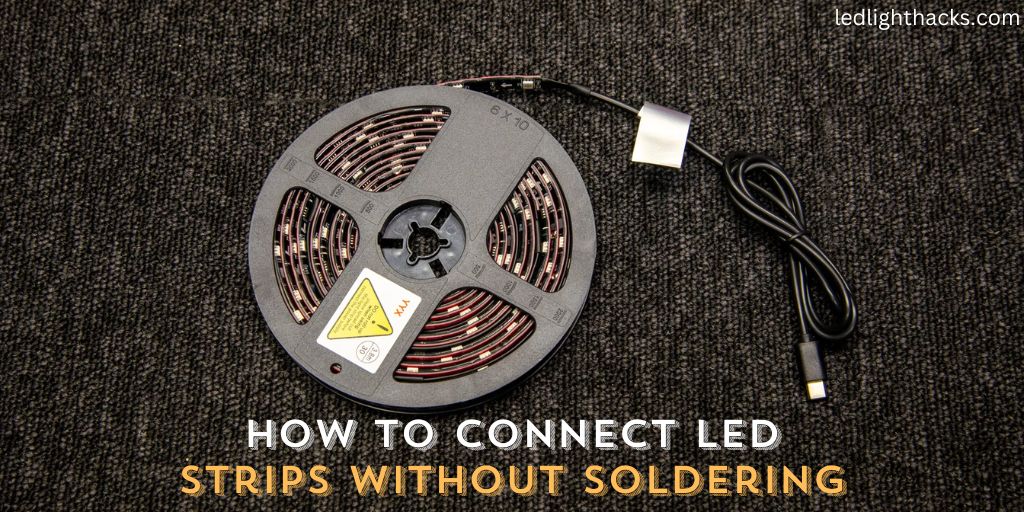
How to Connect LED Strips without Soldering
Connecting LED strips is a popular project for anyone looking to brighten up their home or workspace. While soldering connections is one common method, it can be a bit intimidating if you’re not experienced with a soldering iron or if you don’t have the equipment on hand.
Fortunately, there’s an easier way to link up your LED strips without having to solder. This approach not only simplifies the process but also minimizes the risk of accidentally damaging the LED strips with excessive heat.
Whether you’re aiming to bring a warm glow to your living room, jazz up your kitchen cabinets, or set up some cool backlighting for your gaming setup, knowing how to connect LED strips without soldering can come in very handy. In this guide, we’re going to take you through the basics, from the tools you’ll need to a straightforward, step-by-step method. This way, you’ll be able to get your LED project up and running with ease and confidence.
Advantages of Connect LED Strips Without Soldering
Connecting LED strips without soldering offers several advantages. First, it’s accessible to everyone, regardless of their technical skills. Soldering requires precision and practice, which might not be feasible for casual DIYers.
By using alternative methods, anyone can undertake a lighting project. Moreover, avoiding soldering means there’s no need for specialized equipment like soldering irons, which can be costly and take up space.
Another critical aspect is safety. Soldering involves heat and can pose a risk of burns or electrical mishaps, especially for those unfamiliar with the process. By connecting LED strips without soldering, you lower these risks significantly, making it a safer choice for home projects.
Also, this method allows for easy modifications. If you need to reposition or expand your LED setup, unsoldered connections can be more forgiving, allowing for adjustments without the need for re-soldering.
Lastly, this method preserves the integrity of the LED strips. Soldering can sometimes damage delicate components, but non-soldering techniques are gentler, ensuring a longer lifespan for your LED lights.
Tools We Need to Connect LED Strips Without Soldering
With just a few simple tools, you can get started on your lighting project in no time. Let’s take a closer look at the essentials:
- LED Strip Connectors: These are specifically designed to fit your LED strips. Ensure you choose connectors that match the width and pin number of your LED strips.
- Scissors or a Sharp Blade: For cutting the LED strips to your desired length.
- Wire Cutters and Strippers: Useful if you’re working with separate wires or need to adjust cable lengths.
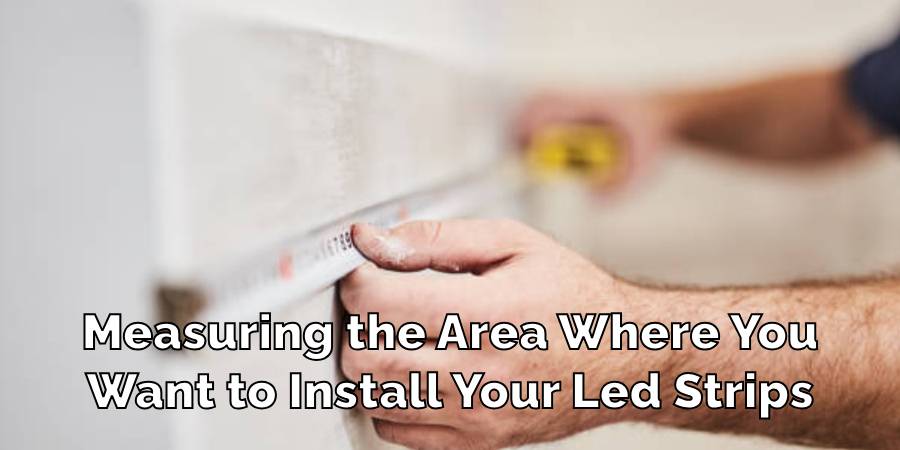
- Measuring Tape: To accurately measure the lengths of your LED strips and the areas where you will install them.
- Double-Sided Tape or Mounting Clips: For securing your LED strips in place.
Whether you’re a DIY enthusiast or a beginner, these tools will help you achieve your lighting goals effortlessly. So, gather your materials, and let’s get started on brightening up your space!
How to Connect LED Strips Without Soldering – 8 Easy Steps
Connecting LED strips without soldering might sound complex, but fear not, as we’ve broken it down into eight straightforward steps. Whether you’re new to DIY projects or a seasoned enthusiast, these easy-to-follow instructions will have your LED strips shining brightly in no time.
Step 1: Measure and Cut
First, decide where you want your LED strips to go and measure the length you need. LED strips typically have cut marks along them, indicating where it’s safe to cut without damaging the components. Use scissors or a knife to cut at these marks.
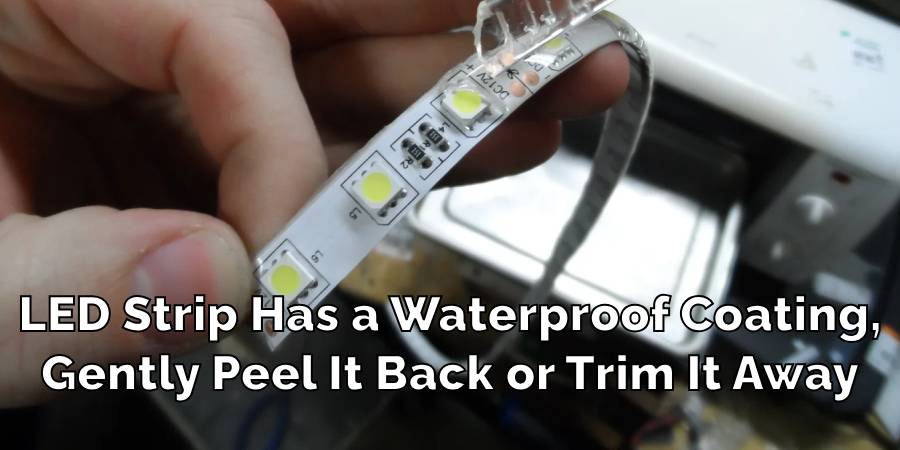
Step 2: Prep the Strips
If your LED strip has a waterproof coating, gently peel it back or trim it away at the end where you’ll make the connection. This step ensures a smooth connection.
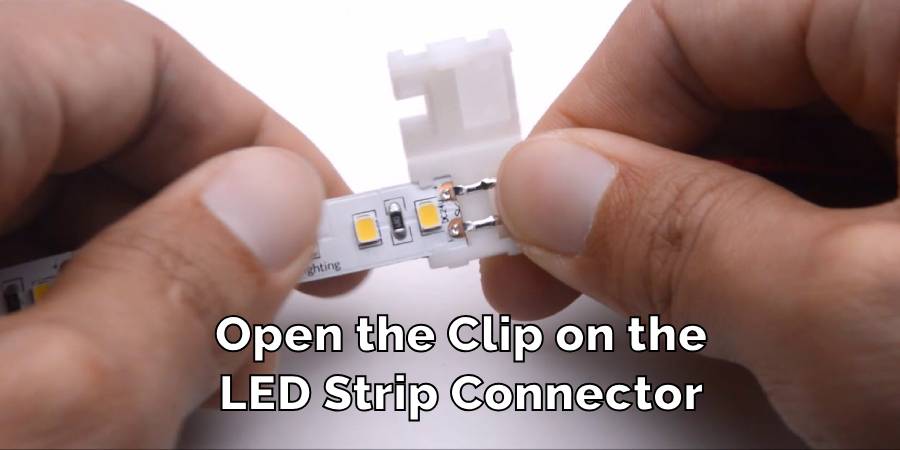
Step 3: Open the Connector
Your LED strip connector will have two sides; one side opens to slot in the end of the LED strip. Gently pry open the connector. Some models have a small lever or clip, while others might require you to slide the top off.
Step 4: Insert the LED Strip
Carefully align the end of the LED strip with the open connector. The strip should slide in, making contact with the connector’s pins. Make sure the strip is facing the right direction; the ‘+’ and ‘-‘ symbols on the strip should match the connector.
Step 5: Secure the Connection
Close the connector clip to secure the LED strip in place. Apply gentle pressure to ensure a solid connection between the strip and the connector pins. A secure connection is crucial for proper functionality.
Step 6: Test the Connection
Before you position your strips or make any permanent installations, connect them to the power supply and turn them on. This is to make sure everything is working correctly and that all connections are secure.
Step 7: Install the Strip
With everything tested and working, you can now install your LED strips in your chosen location. Use the adhesive backing on the strips to stick them in place, or use mounting clips if your strips don’t have adhesive.
Step 8: Connect to Power
Finally, connect your LED strip to a power source. Use cable ties or clips to neatly organize any loose wiring. This ensures not only a tidy appearance but also prevents any accidental disconnections.
Step 9: Connecting Multiple Strips
If you’re connecting multiple strips or need to make turns, use the appropriate connector for each situation. There are L-shaped connectors for corners and T-shaped ones for branching off in different directions.
By following these steps, you can easily connect LED strips without soldering, creating custom lighting setups for any part of your home. This method is not only simpler but also allows for easy adjustments and reconfigurations in the future.
Precaution While Connecting LED Strips Without Soldering
Before you dive into connecting your LED strips without soldering, it’s essential to take some precautions to ensure a safe and successful lighting project. Let’s look into these precautions in simple terms to make your LED strip installation hassle-free.
Compatibility Check
Make sure your LED strips and connectors are a perfect match in terms of size and pin configuration. Using mismatched components can lead to connection issues or even damage to your LED strips.
Safety First
Always prioritize safety. Before you start working with your LED strips, disconnect the power source. This prevents any accidental electrical shocks or mishaps while handling the strips.
Handle with Care
Treat your LED strips gently. They might look tough, but the components can be delicate. Avoid bending or twisting the strips, as this could damage the internal circuitry. Handle them with care to ensure they function correctly.
Secure Connections
Double-check that all connections are secure. Loose connections can result in malfunctioning or even short-circuiting, which can be a safety hazard. Ensure that the LED strip is securely fastened to the connector and that the connector is properly connected to the power source.
By following these straightforward precautions, you can ensure a smooth and safe LED strip installation. Remember, it’s all about matching the right components, prioritizing safety, handling the strips gently, and securing your connections. With these precautions in mind, your LED lighting project will shine brightly and without a hitch. Happy DIY lighting!
FAQ’s
Can You Connect LED Strips With Tape?
Yes, you can use double-sided tape for lightweight LED strips. It’s a simple and effective way to attach LED strips to surfaces. Just make sure the tape is strong enough to hold the strips in place. For heavier LED strips, consider using mounting clips or brackets for added support.
Can I Join LED Strips Together?
Absolutely! You can easily connect multiple LED strips. To do this, use LED strip connectors. These connectors allow you to link one strip to another without soldering. Ensure the connectors match the width and pin configuration of your LED strips for a secure connection.
Is Double-Sided Tape Safe for LED Lights?
Yes, double-sided tape is safe for LED lights when used correctly. It’s a popular choice for securing LED strips because it doesn’t involve any damage or heat. However, ensure that the surface where you apply the tape is clean and dry for optimal adhesion. For heavy or outdoor LED strips, consider more robust mounting options.
Can I Cut LED Light Strips?
Yes, you can cut LED light strips to your desired length. Look for marked lines on the strip these indicate where it’s safe to cut. Using scissors or a sharp blade, make a clean, straight cut along these lines. Be cautious not to damage any of the LED components while cutting.
Do LED Tape Lights Get Hot?
LED tape lights are known for their energy efficiency and minimal heat production. Unlike traditional incandescent bulbs, LEDs stay cool to the touch even after extended use. This makes them safe for various applications, including lighting in enclosed spaces or around delicate materials.
Conclusion
Connecting LED strips without soldering is a user-friendly, safe, and accessible way to illuminate your space. Ensure compatibility, prioritize safety by disconnecting power, handle strips gently, and secure connections. This article has explored how to connect LED strips without soldering.
You can use double-sided tape for light strips, join them together effortlessly, and rest assured that LED tape lights stay cool. This method empowers you to brighten your world without the complexities of soldering, making DIY lighting projects enjoyable and straightforward.
How to Change a Light Switch without Turning Off the Power
Mastering the skill of changing a light switch without turning off the power holds great…
How To Stick LED Strip Lights On Wall Without Damaging Paint
LED light strips have surged in popularity, adorning homes and spaces with their vibrant colors…
Can Led Lights Get Wet
LED lights are everywhere, from homes to city streets, known for their efficiency and brightness….

Creative Ways to Use LED Strip Lights in Your Home
LED strip lights, those brilliant strips of technology, serve as a beacon of innovation in…

Can Solar Lights Catch Fire
Solar garden lights are your go-to pal for lighting up your backyard oasis while keeping…
What gauge wire for LED lights
When diving into LED lighting, one aspect that might not catch your eye at first…