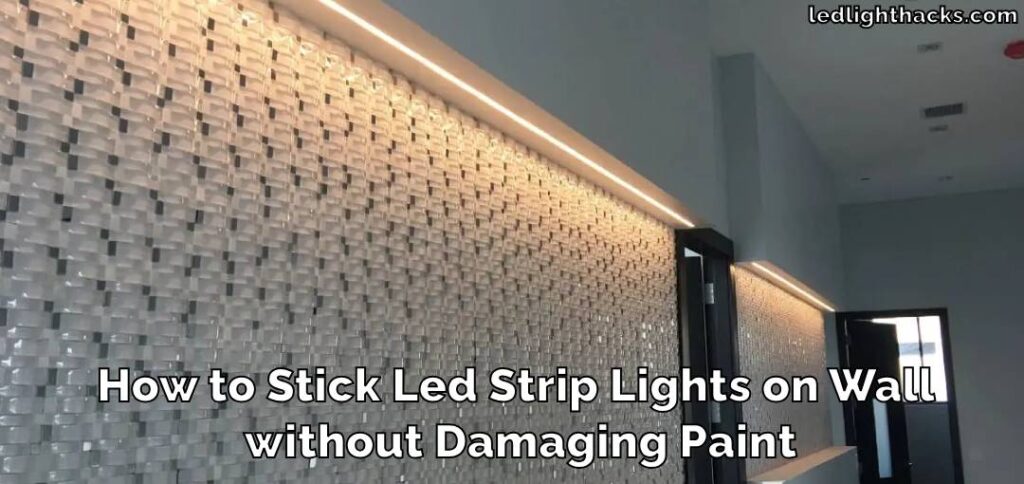
How To Stick LED Strip Lights On Wall Without Damaging Paint
LED light strips have surged in popularity, adorning homes and spaces with their vibrant colors and dynamic light. They enhance rooms, kitchens, and outdoor areas, adding ambiance and functionality with a modern touch. Yet, amidst their growing use, a common concern arises the potential damage to walls by these adhesive-backed lights.
This article How To Stick LED Strip Lights On Wall Without Damaging Paint aims to address this concern head-on. We’ll the impact of LED strips on wall surfaces, focusing on safe usage and removal techniques to protect your walls.
Our objective is straightforward: to empower you with the knowledge to enjoy these lights without worrying about damaging your living spaces.
Tools Needed
Here’s a list of what you’ll need to get the job done without leaving a mark:
- Paint-Friendly Adhesive Hooks: These hooks stick to your wall without damaging the paint and can hold the LED strips in place.
- Clear Mounting Clips: These small clips can be attached to the wall with adhesive pads that come off clean, holding your LED strips without any fuss.
- Double-Sided Tape for LED Strips: Look for one that’s marked as safe for walls. This tape is strong enough to hold your lights but gentle on paint.
- Command Strips: These are great for temporary installations because they come off easily without leaving residue.
- Hook and Loop Tapes (Velcro): Another non-permanent option that lets you remove the strips without harm to your walls.
- Cleaning Supplies: A clean, dust-free surface ensures the adhesives stick better. You’ll need a dust cloth and maybe some mild cleaner.
By using these tools, you’re setting yourself up for a successful installation of LED strip lights, brightening up your space without the worry of paint damage. Remember, the key is to prep your wall properly and choose adhesives that are designed to be gentle on surfaces.
This way, when it’s time for a change, your walls will be just as beautiful as the day you decided to add a little light to them.
How To Stick LED Strip Lights On Wall Without Damaging Paint
Lighting up your space with LED strip lights can transform it from bland to brilliant without leaving a mark on your walls. Let’s dive into how to accomplish this with flair and care, ensuring those dazzling lights don’t turn into a paint-peeling nightmare.
Planning Makes Perfect

It’s all about location, location, location. Envision where your LED strips will make the most impact. Think power sources and the dance of light and shadow in your space. A little doodle on paper helps big time in this planning phase.
LED Strips: Pick Wisely

LED strips are vast – from monochrome serenity to a riot of color for every mood. For the tech-savvy, smart LED strips offer the magic of control right from your smartphone or through voice commands.
Tool Time

Arm yourself with the essentials: your chosen LED strips, soft cloth for cleaning, possibly a gentle cleaner, and crucially, the right adhesive or clips that promise a bond without the heartache of wall damage. Scissors will come in handy for trimming those strips at just the right spots.
Prep for Success
A spotless wall is your canvas. A quick wipe down with a dry cloth or a swipe with a mild cleaner ensures no dust or grime interferes with the adhesive’s grip.
Measure Twice, Stick Once
Eye up your space and measure it out. If your LED strip needs a trim, only snip at the indicated areas to keep it functioning flawlessly.
Sticking Strategy

Now for the main event. Peel the backing off your strong adhesive tape, chosen for its might minus the wall-wrecking residue, and press the strips into place. If you’ve gone the route of light clips or adhesive clips, get those secured on the wall first, then click your LED strips into their cozy new homes.
Power Up
Hook up your LED strips as per the guidelines, keeping the switch off during this stage to dodge any electrical surprises.
The Grand Lighting
Switch on and bask in the glow. This is your cue to tweak placement or settings until it’s just right.
For the Smart Setup Enthusiasts
Integration Station
Link up your LED marvels with your smart home system for that seamless tech harmony, guided by the product’s instructions.
Scene Setting
Dive into the app and customize it to your heart’s content. Whether it’s setting the ambiance for movie night or programming a wake-up hue, the sky’s the limit.
A Note on Safety
Dry hands and electrical work are a pair. Not quite confident about the electrical bits? Seeking professional help is a smart move.
By walking through these steps, you’ll nail the installation, ensuring your walls stay pristine and your space shines bright change and revel in the beauty of LED lighting done right, knowing you’ve mastered the art of the stick without any sticky situations.
Environmental Impact
- Energy Consumption: LED strips use significantly less power compared to traditional lighting, making them an eco-friendly choice.
- Recyclability: Many LED strips are made from recyclable materials, helping reduce waste.
- Carbon Footprint: Lower energy use translates to reduced carbon emissions, contributing positively to environmental efforts.
Health Considerations
- Blue Light Exposure: LED strips emit blue light, which can affect sleep patterns if overexposed, especially at night.
- Color Temperature Control: Choosing warmer colors for evening use can minimize blue light exposure, promoting better sleep.
- Quality Matters: High-quality LED strips are less likely to flicker, reducing the risk of headaches or eye strain.
- Energy Efficiency: While being energy-efficient, it’s still recommended to turn off LED strips when not in use to conserve energy further.
Maintenance and Cleaning
- Keep them dust-free: Use a soft, dry cloth to gently wipe away any dust from the LED strips. Doing this regularly will prevent dust build-up that can dim the lights.
- Be gentle: When cleaning, don’t press too hard on the LED strips because they’re delicate and you might damage them.
- Avoid water: LED strips don’t like water, especially if they’re not waterproof. If you need to clean them more thoroughly, slightly dampen a cloth with water and gently wipe the surface.
Troubleshooting Common Issues
Tackling connectivity woes in smart LED strips is akin to solving a puzzle where each piece represents a common issue that might disrupt your cozy, well-lit ambiance. Let’s navigate through this troubleshooting guide, ensuring you get back to basking in your smart home’s glow as smoothly as possible.
Wi-Fi Wobbles? Check Your Connection
First off, scrutinize your Wi-Fi connection. It’s the backbone of your smart LED’s connectivity. A weak signal in the LED’s locale can throw a wrench in the works, causing frustrating disconnections. Ensure your router’s signal reaches far and wide, covering every nook and cranny where your LED strips reside.
Software Snafus? Update App and Firmware
Sometimes, the gremlin is in the software. Keeping the app and the LED strip’s firmware in tip-top shape with the latest updates can ward off many connectivity hitches. These updates often contain fixes for known bugs that might be the root of your troubles.
Still Stuck? Reset the LED Strips
When all else seems to fail, consider a factory reset for your LED strips. This might sound drastic, but it’s like giving your LEDs a fresh start. The reset method varies by model, so a quick lookup for your specific brand and model will guide you through the process.
Incorporating this guide into your smart home routine ensures the longevity and enjoyment of your LED strips. Not to mention, becoming savvy with these fixes can save you both time and pennies.
Now, let’s weave in those keywords, making them feel right at home in our LED strip saga:
Ensuring a clean installation avoids the headache of adhesive residue, a common villain on textured walls, and when wall paint is at stake. The installation process itself can become a breeze or a battle, heavily influenced by the type of wall surface you’re dealing with. Sticky residue from inadequate adhesive options or the dreaded falling-off-the-wall scenario can sour your experience, especially on uneven surfaces or damp walls.
Opting for high-quality adhesive tape or adhesive strips that promise durability without damaging walls is crucial. For those in a bind over sticky spots or adhesive tape residue, a bit of solvent—applied judiciously—can clear up the mess without harming your wall types.
The allure of extra lighting through smart LEDs in cabinet installation or bathroom vanity mirror lighting brings us to the importance of effective installation. This involves selecting the right adhesive material, perhaps considering aluminum channels for a more durable installation, or exploring alternative methods such as light clips for a semi-permanent solution on walls without adhesive.
For those concerned about light strips damaging walls, rest assured that with adhesive options like double-sided cloth tapes or adhesive clips, your installation can be both convenient and kind to your type of walls. And, addressing connectivity problems doesn’t just stop with the technical; it extends to ensuring the physical setup is robust against extreme heat or blast of heat, which could compromise both the flexible circuit board and the adhesive’s integrity.
Finally, embracing advanced lighting solutions with smart LEDs not only enhances your space with a variety of colors and consistent color mixing but also your troubleshooting know-how. A detailed guide, peppered with helpful replies from the community, ensures your journey from dim spots to dazzling lights is as smooth as the finish spots on your freshly installed strips.
Navigating these challenges with know-how and the right tools transforms your smart LED strip installation from a potential wall-damaging ordeal into an ease-of-installation success story, lighting up your life and walls with no strings—or residues—attached.
Conclusion
We’ve covered the essentials of using LED strip lights in a way that brightens up your space without damaging your walls. From choosing the right strips and adhesives to proper installation and upkeep, a little care goes a long way. Troubleshooting common issues like flickering and dimming yourself can save both time and money.
Remember, the goal is to enhance your space’s aesthetics while keeping the walls intact. Armed with these insights, you’re ready to light up your environment creatively and responsibly, ensuring your LED strip lights add charm to your space for years to come.
You may also read – Can Led Lights Get Wet
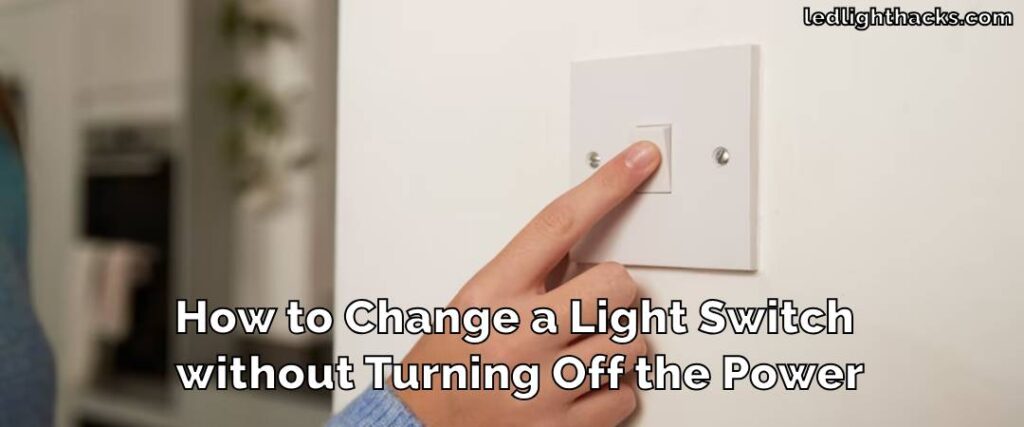
How to Change a Light Switch without Turning Off the Power
Mastering the skill of changing a light switch without turning off the power holds great…
How To Stick LED Strip Lights On Wall Without Damaging Paint
LED light strips have surged in popularity, adorning homes and spaces with their vibrant colors…
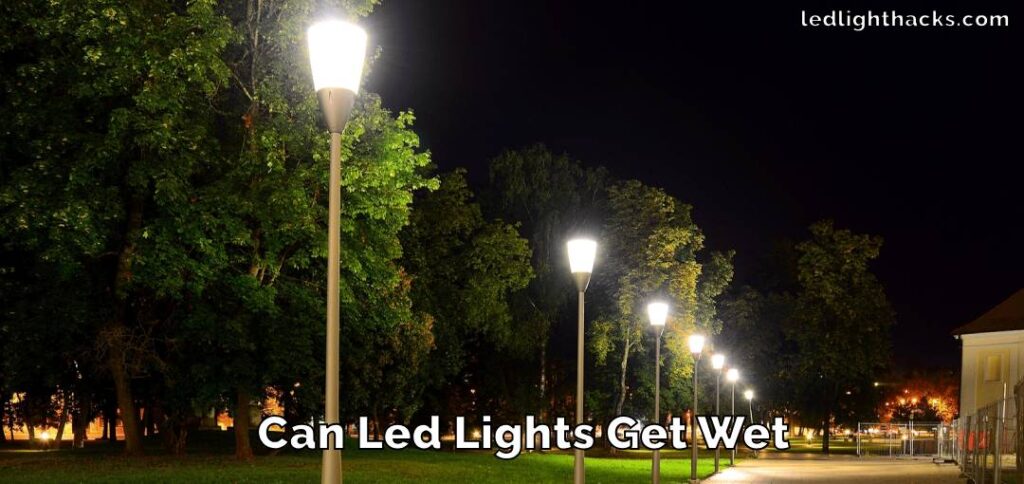
Can Led Lights Get Wet
LED lights are everywhere, from homes to city streets, known for their efficiency and brightness….
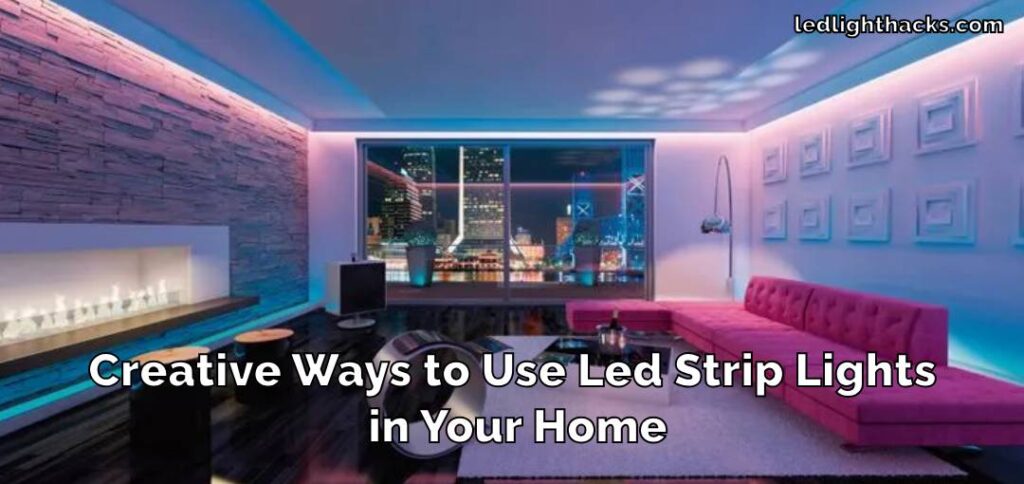
Creative Ways to Use LED Strip Lights in Your Home
LED strip lights, those brilliant strips of technology, serve as a beacon of innovation in…

Can Solar Lights Catch Fire
Solar garden lights are your go-to pal for lighting up your backyard oasis while keeping…
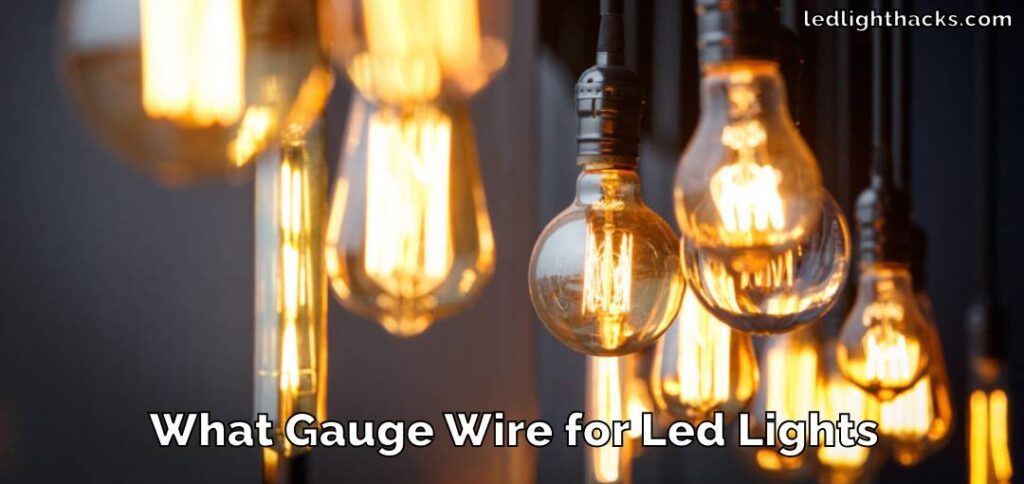
What gauge wire for LED lights
When diving into LED lighting, one aspect that might not catch your eye at first…