How to Hang LED Lights in the Classroom
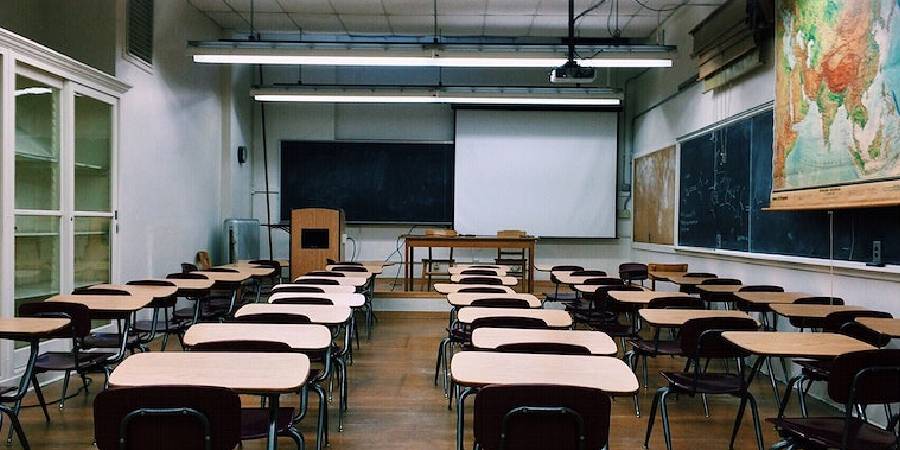
Adding LED lights to a classroom isn’t just about making the space look nice; it’s about creating an atmosphere where students feel energized and focused. Educators have started to see how the look and feel of a classroom can impact learning. LED lights, with their flexibility and energy-saving qualities, are a perfect choice for this.
This guide is all about showing you, step by step, how to hang LED lights in the classroom. We’re going to cover everything you need to know to do it safely and effectively. These lights don’t just make the room look warm and welcoming; they’re also good for the planet and your school’s budget in the long run.
By the end of this guide, you’ll have all the info you need to light up your classroom in a way that’s both smart and stylish.
Why You Should Hang LED Lights in Classroom
The use of LED lights in a classroom serves a purpose that goes beyond just making the room look nice. These lights offer several advantages that contribute to a better learning environment:
- Improved Visibility: LED lights provide bright and consistent illumination, which is essential for clear reading and writing. Students can see the board, textbooks, and notes more easily, reducing eye strain.
- Variety in Lighting: LED lights come in different color temperatures, allowing you to choose the right lighting for different classroom activities. Cooler tones can help keep students alert during exams, while warmer tones create a cozy atmosphere for reading or group discussions.
- Energy Efficiency: LED lights are energy-efficient, meaning they use less electricity than traditional lighting options. This not only saves on utility bills for the school but also reduces the environmental impact.
- Long Lifespan: LED lights have a long lifespan, so they don’t need frequent replacements. This makes them a cost-effective choice for schools in the long run and reduces maintenance hassles.
- Enhanced Learning Environment: Proper lighting enhances the overall learning environment. It can boost students’ concentration, mood, and productivity, creating a positive atmosphere for teaching and learning.
Incorporating LED lights into the classroom isn’t just about aesthetics, it’s a practical choice that contributes to better learning conditions and resource efficiency.
Tools We Need to Hang LED Lights in Classroom
Before you start hanging LED lights in your classroom, it’s important to gather all the necessary tools. Having the right tools will make the process easier and help ensure that your lights are securely in place. Here’s what you’ll need:
- LED Light Strips or Strings: These are the main components that will illuminate your classroom with colorful and energy-efficient lighting.
- Measuring Tape: To accurately measure the length and placement of your LED lights.
- Pencil or Marker: To mark where you’ll install your lights.
- Hooks or Clips: Choose hooks or clips that are suitable for the type of walls or ceiling in your classroom. These will hold your LED lights securely in place.
- Adhesive Tape or Strips: For mounting the lights without causing damage to the walls. This is especially important if you’re in a rented classroom or want a damage-free solution.
- Ladder or Step Stool: Depending on the height of your installation, you may need a ladder or step stool to reach higher spots safely.
- Wire Cutters or Scissors: If your LED light strips need to be customized to fit specific lengths, wire cutters or scissors will come in handy.
Optional
- Remote Control or Smartphone App: If you’re using smart LED lights, a remote control or smartphone app can provide convenient control over the lighting effects and colors.
With these tools at hand, you’re ready to create a vibrant and well-lit classroom environment. Whether for educational purposes or to create a pleasant atmosphere, LED lights are a versatile and energy-efficient choice.
How to Hang LED Lights in the Classroom (12 Easy Steps)
Creating a warm and inviting classroom atmosphere with LED lights is simple and fun. Follow these straightforward steps:
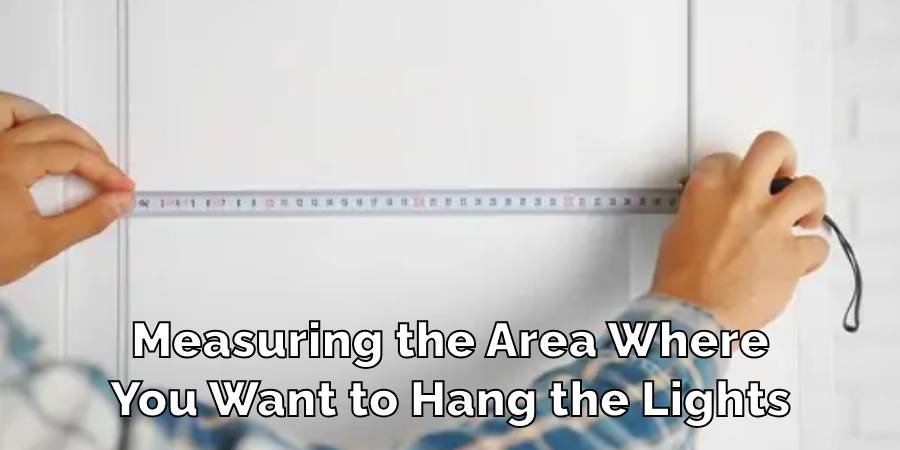
1. Planning
Begin by measuring the area where you want to hang the lights. Consider the length of the LED strips and the location of the power outlets. This will help you determine the number of LED lights you need and where to place them.
2. Choosing the Right Lights
Pick LED strip lights or LED bulbs depending on what you want to achieve. Strip lights are great for creating ambient lighting around the room’s perimeter or under desks, while bulbs can replace existing ceiling lights for better energy efficiency.
3. Preparing the Surface
If you’re using adhesive-backed LED strips, make sure the surface is clean and dry. This will help the lights stick better and last longer.
4. Marking the Layout
Use a pencil or marker to mark where you want to place the lights. Create a clear outline on the wall or ceiling, following your planned layout.
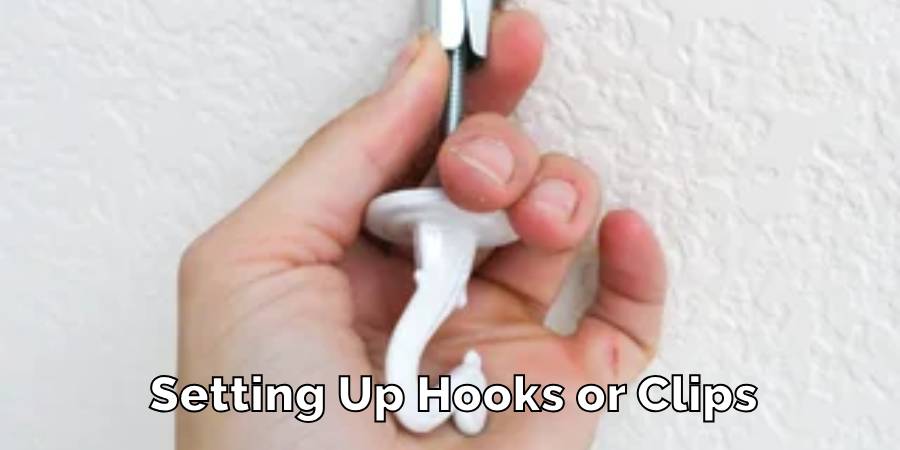
5. Setting Up Hooks or Clips
If you’re using hooks or clips to hang the lights, position them evenly along your marked layout. Make sure they’re securely fastened to the surface.
6. Laying Out the Lights
Now comes the fun part. Carefully attach the LED lights along the marked path. Ensure they follow the layout you’ve marked, and keep them straight as you go.
7. Securing the Lights
If your LED lights don’t come with an adhesive backing, no worries! You can still secure them in place using adhesive tape or strips. Simply apply these to the back of the lights and press them firmly against the wall or ceiling.
8. Connecting to Power
Find the nearest power outlet or use an extension cord if needed. Plug the lights into the outlet or the extension cord. Ensure that they’re properly connected, and the power source is switched on.
9. Customizing Length
Sometimes, LED strips might be too long for your space. If that’s the case, you can customize their length. Look for designated cut points on the strips and carefully cut them to fit your classroom’s dimensions. Be cautious while cutting to avoid damaging the lights.
10. Safety Check
Take a moment to ensure that all wires are neatly arranged and not creating a trip hazard. Tuck any excess wires away or use cable organizers to keep them tidy and safe.
11. Testing the Lights
Turn on the LED lights to check if they’re working correctly. Make sure the colors are vibrant, and there are no issues with the brightness. This step allows you to catch any problems before your students arrive.
12. Final Adjustments
Take a step back and look at your classroom’s new ambiance. If needed, make final adjustments to the light positioning or brightness. Ensure that they create the desired mood and atmosphere for your teaching activities.
By following these additional steps, you’ll ensure that your LED lights are securely attached, connected to power, and customized to fit your classroom’s specific layout. Enjoy the enhanced learning environment they create!
Precaution while Hanging LED lights in the Classroom
Safety is the top priority when it comes to installing LED lights in your classroom. Here are important precautions to follow:
- Use a Sturdy Ladder: If you need to reach higher spots, always use a sturdy ladder or step stool. Safety first!
- Secure Electrical Connections: Ensure that all electrical connections are firmly secured. Double-check that no wires are exposed to prevent any accidents.
- Choose the Right Mounting Materials: It’s crucial to use the correct mounting materials for your type of wall or ceiling. This helps prevent any damage during installation.
- Avoid Overloading Outlets: Don’t overload electrical outlets with too many devices. If you need extra outlets, use power strips with surge protectors to keep things safe.
- Proper Cutting: If you’re customizing the length of LED strips, make sure to cut them only at the designated points. This prevents damage to the lights and ensures they work correctly.
By following these safety precautions, you’ll create a well-lit and safe classroom environment for both you and your students. Enjoy the enhanced learning atmosphere while keeping everyone protected!
FAQ’s
How Can I Hang Led Lights Without Damaging the Walls?
Hanging LED lights without harming your walls is easy. Use special adhesive hooks, clips, or damage-free adhesive strips designed for hanging lights.
Before applying these adhesives, make sure the wall is clean and dry for better sticking power. This way, you can enjoy well-lit surroundings without worrying about wall damage.
What’s the Best Way to Attach String Lights to a Classroom Ceiling?
To attach string lights to a ceiling, opt for small adhesive hooks or clips that won’t damage the ceiling. Space them evenly and gently drape the string lights over them.
Ensure that the lights are securely attached and not hanging too low. This creates a cozy and well-lit atmosphere in your classroom.
Are LED Lights Safe for Kids?
Yes, LED lights are generally safe for kids. One of their advantages is that they stay cool to the touch, unlike traditional bulbs which can get very hot. This significantly reduces the risk of burns, making them a good choice for children’s spaces.
However, it’s crucial to take extra precautions. Keep all electrical connections out of children’s reach, and ensure that the lights are securely installed.
Regularly inspect the lights to make sure there are no loose wires or exposed parts. By doing so, you can create a well-lit and safe environment for your little ones to learn and play.
Are LED Lights Good for Our Eyes?
LED lights are generally safe for our eyes, but it’s important to use them wisely. Prolonged exposure to very bright or blue-heavy LEDs can cause discomfort or eye strain. To create a comfortable learning environment in a classroom, it’s advisable to choose LEDs with a softer and warmer tone.
These provide a pleasant and soothing atmosphere, reducing the risk of eye discomfort. Adequate lighting is crucial for reading and learning, so selecting the right LED color temperature can help promote a positive learning experience.
Are LED Lights Safe for Our Skin?
LED lights are considered safe for our skin as they don’t emit harmful UV rays like some other types of lights. However, it’s essential to use them in moderation. Direct and prolonged exposure to very bright LEDs might cause some discomfort or sensitivity in some individuals.
To enjoy LED lighting without any skin concerns, ensure that the lights are not too close to your skin and that the brightness level is comfortable for you. Using LED lights as intended for general illumination is a safe and efficient choice.
Conclusion
Bringing LED lights into your classroom can have a profound impact on the learning environment, offering a blend of aesthetics and practicality. This article has explored how to hang LED lights in the classroom.
This comprehensive guide has walked you through the process of hanging LED lights in your classroom while ensuring safety and efficiency. By diligently following these steps and adhering to precautions, you can craft a well-lit, engaging, and secure space for your students.
Remember, the key lies in choosing the right lights to meet your requirements and consistently prioritizing safety during the installation process. With these considerations in mind, you’ll create an environment that fosters learning and inspiration for your students.

How to Change a Light Switch without Turning Off the Power
Mastering the skill of changing a light switch without turning off the power holds great…
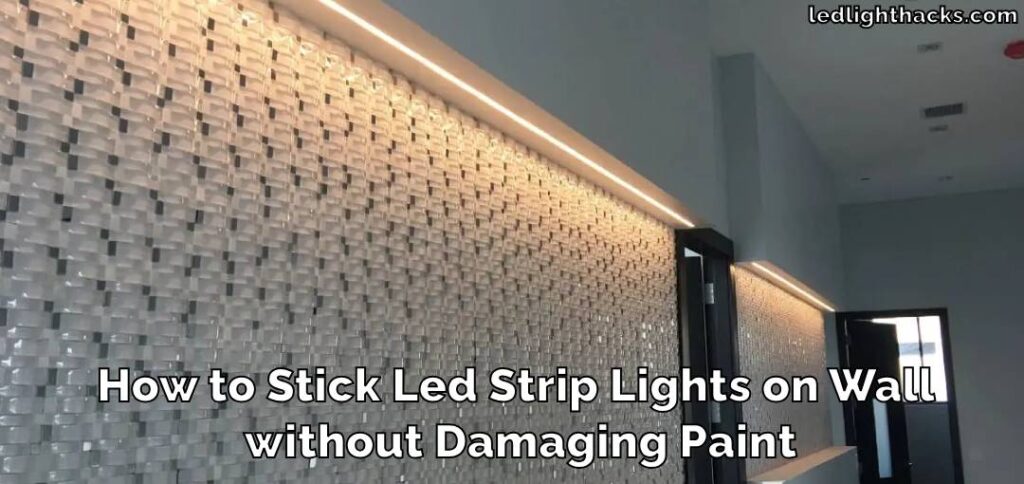
How To Stick LED Strip Lights On Wall Without Damaging Paint
LED light strips have surged in popularity, adorning homes and spaces with their vibrant colors…
Can Led Lights Get Wet
LED lights are everywhere, from homes to city streets, known for their efficiency and brightness….
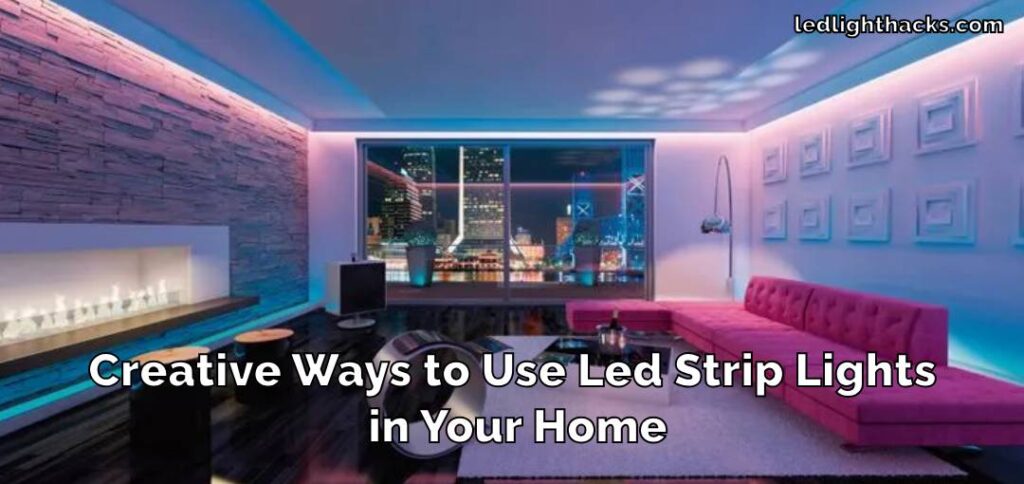
Creative Ways to Use LED Strip Lights in Your Home
LED strip lights, those brilliant strips of technology, serve as a beacon of innovation in…

Can Solar Lights Catch Fire
Solar garden lights are your go-to pal for lighting up your backyard oasis while keeping…
What gauge wire for LED lights
When diving into LED lighting, one aspect that might not catch your eye at first…