How to Make Copper Wire LED Lights
Creating your copper wire LED lights is a fantastic way to bring a warm, inviting glow into any corner of your home. This DIY project is more than just brightening up a space; it’s a chance to inject a bit of your personality into your home decor.
Copper wire LED lights are not only energy-efficient but also incredibly flexible, allowing you to shape them as you wish, which makes them ideal for any setting. Whether it’s setting the mood for a romantic dinner or just adding a cozy ambiance to your favorite reading spot, these lights are a great choice.
In this guide, we’re going to show you how to make copper wire LED lights. We’ll cover everything from the materials you’ll need to a step-by-step walkthrough of the process. Let’s get started on this journey to light up your space with a touch of charm and warmth.
Why You Should Make Copper Wire LED Lights
Copper wire LED lights are an excellent choice for both practical and decorative purposes. These lights are energy-efficient, using significantly less electricity than traditional bulbs, which translates to lower energy bills and a reduced environmental impact.

Their flexibility opens up endless possibilities for creative expression. You can twist and turn the copper wire into various shapes and forms, from elegant centerpieces for your dining table to captivating pieces of wall art.
The gentle, warm light from LEDs offers a comforting glow, ideal for setting a relaxed mood in any room. It’s also great for photography, providing a soft, diffused light that enhances pictures.
Additionally, copper wire LED lights are durable and have a longer lifespan, ensuring that your creative efforts last. By choosing to make these lights, you’re opting for a cost-effective, eco-friendly, and aesthetically pleasing lighting solution that can adapt to any setting or occasion.
Tools Needed
It’s important to gather all the necessary tools and materials. This preparation ensures a smooth and enjoyable crafting experience.
Here’s what you’ll need:
- Copper Wire: The thickness of the wire can vary based on your design preference. Thinner wire is more flexible and easier to manipulate into intricate designs.
- LED Bulbs: Small, battery-operated LED bulbs are ideal for this project. They’re easy to handle and can fit into tight spaces in your design.
- Wire Cutter: This tool is essential for cutting the copper wire to your desired length.
- Batteries or Power Source: Depending on your LED bulbs, you’ll need an appropriate power source, such as batteries.
- Insulating Tape: This tape is used to safely cover and secure connections and prevent any electrical shorts.
- Soldering Iron and Solder: These are optional but useful for making more permanent connections between the wire and LED bulbs.
The right tools not only make the job easier but also safer and more enjoyable. At the end of your project, you’ll have a beautiful and unique lighting creation that reflects your style and creativity.
How to Make Copper Wire LED Lights
Creating your copper wire LED lights is a straightforward process that adds a personal touch to your space. Here’s a step-by-step guide to help you bring your lighting vision to life:
Designing Your Light
Before you start, think about where you want to place your copper wire LED lights. This will help you decide how long the wire should be and how many LEDs you’ll need. Remember, the closer together your LEDs, the brighter the light effect.
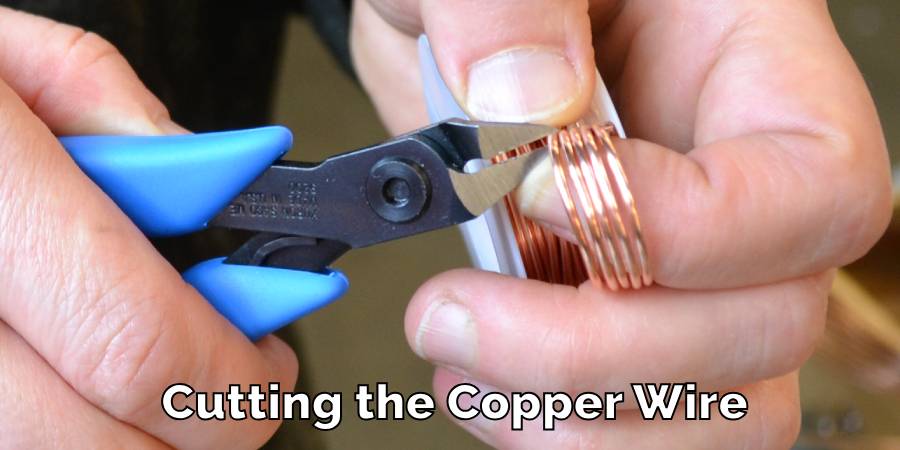
Cutting the Wire
Using the wire cutters, cut your copper wire to the desired length. If you’re new to working with copper wire, it’s advisable to cut a little extra; you can always trim it down later.
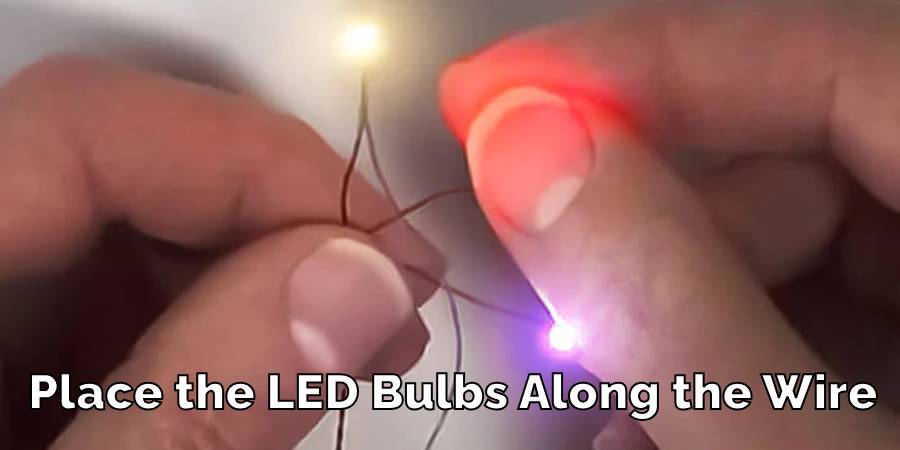
Attaching the LEDs
Start attaching your LEDs to the copper wire. You can do this by twisting the legs of the LEDs around the wire. Ensure that all the LEDs face the same direction and that you connect them correctly with the positive and negative sides matching the battery pack’s output.
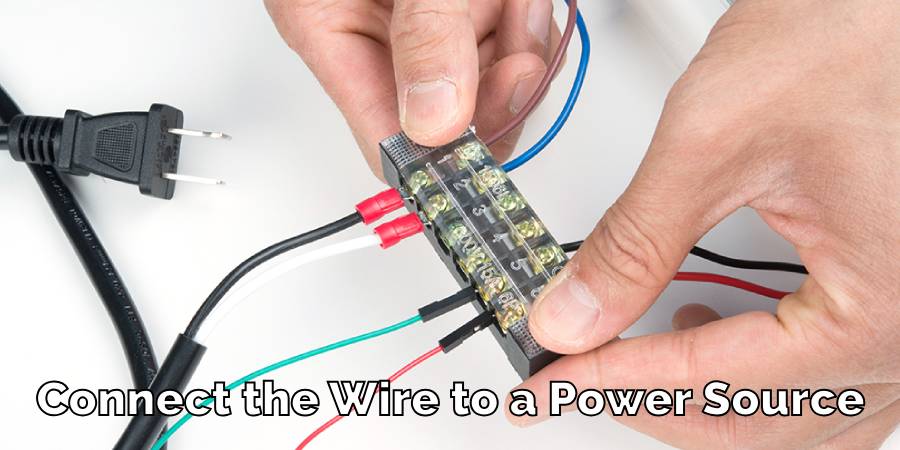
Powering Your Lights
Now, connect the wire to a power source. If you prefer your lights to be mobile, opt for battery-powered LEDs. This flexibility allows you to place your lights anywhere.
Testing
Before finalizing your design, plug in or switch on your lights to make sure all the LEDs light up. This step helps you catch any connection issues early.
Final Touches
Once you’re satisfied with how your lights work, it’s time for the finishing touches. Arrange the copper wire in the shape of your design. You can wrap it around objects, mold it into shapes, or drape it as you desire.
Securing the Setup
Ensure that your lights are securely placed. Use additional tape or small hooks if needed to keep your design stable and safe.
Enjoy Your Creation
Finally, step back and admire your handiwork. Your custom-made copper wire LED lights are not only a source of light but a reflection of your creativity.
This project is not only easy but also allows for a lot of creativity. You can customize the length, and the spacing of the LEDs, and even add colored LEDs for a different effect. Enjoy making your space brighter and more inviting with your handmade copper wire LED lights!
Precautions
Safety should always be your top priority when creating copper wire LED lights. Here are some important precautions to keep in mind to ensure a safe and successful DIY project:
- Well-Ventilated Area for Soldering: If you plan to solder, make sure you work in a well-ventilated area. Soldering can produce harmful fumes if inhaled in enclosed spaces.
- Handle Wire Carefully: Copper wire can be sharp, especially after cutting. Handle it with care to avoid cuts or scratches.
- Secure Electrical Connections: Check that all electrical connections are tight and secure. Loose connections can lead to short circuits.
- Use Insulating Tape: Always use insulating tape to cover exposed wires or soldered joints. This prevents any risk of electric shocks or short circuits.
- Avoid Water Contact: Keep your copper wire LED lights away from water, as water can cause electrical failures or hazards.
- Check the Power Source: Ensure that your power source, like batteries, is compatible with your LED lights. Incorrect power sources can damage the LEDs or cause overheating.
- Be Cautious with Tools: Use tools like wire cutters and soldering irons carefully. Always keep them out of reach of children.
- Test Before Final Installation: Test your lights before the final setup to detect any faults.
- Avoid Overheating: Don’t leave your LED lights on for extended periods as they can overheat. Always turn them off when not in use.
By following these safety tips, you can enjoy crafting your copper wire LED lights while keeping yourself and your surroundings safe.
FAQ’s
Are Copper Wire LED Lights Waterproof?
Copper wire LED lights have the potential to be waterproof, especially if the LED bulbs are properly encased in a waterproof material. This makes them suitable for outdoor use or in damp environments.
However, it’s crucial to keep the battery pack or power source completely dry to prevent any electrical hazards. If you plan to use these lights outdoors or in potentially wet conditions, ensure that every part, except for the battery pack or power source, is appropriately protected against water.
Is Copper Wire Safe?
Yes, copper wire is safe to use in LED lights, provided it is handled correctly. The key to safety is ensuring that the copper wiring is properly insulated.
This prevents any risk of electric shocks or short circuits. Copper’s popularity in electrical applications stems from its excellent conductive properties, combined with its flexibility, making it an ideal choice for LED lighting.
What Type of Wire is Used for LED Lights?
Copper wire is typically the go-to choice for LED lights. This preference is due to copper’s high flexibility, allowing for easy shaping and bending, and its superior conductivity, which ensures efficient electrical transmission to the LEDs.
Does Copper Wire Glow?
No, copper wire by itself does not emit any light. The illumination comes from the LEDs attached to the wire. The copper wire acts as a conduit, carrying electricity to these LEDs, enabling them to light up. The wire itself remains non-luminous.
Is Copper Harder Than LED?
Yes, copper is a metal and is physically more robust and more durable than the material of LED bulbs, which are often made from plastics or other softer materials. This difference in material strength means that while the copper provides a sturdy framework for the lights, the LED bulbs are the delicate part that emits light.
Conclusion
Crafting copper wire LED lights is a fulfilling DIY endeavor that offers more than just functional lighting. It’s an opportunity to infuse a personal touch into your environment. This article has explored how to make copper wire LED lights.
By following the outlined steps, you’re on your way to creating not just light, but an art piece that reflects your style and enhances any area. These lights are not only pleasing to the eye but also kind to your wallet and the planet, thanks to their energy efficiency.
The process encourages you to experiment and express your creativity. So, as you on this project, let your imagination be your guide and enjoy the journey of transforming simple materials into a unique and captivating lighting feature for your home or any space you choose to brighten.

How to Change a Light Switch without Turning Off the Power
Mastering the skill of changing a light switch without turning off the power holds great…
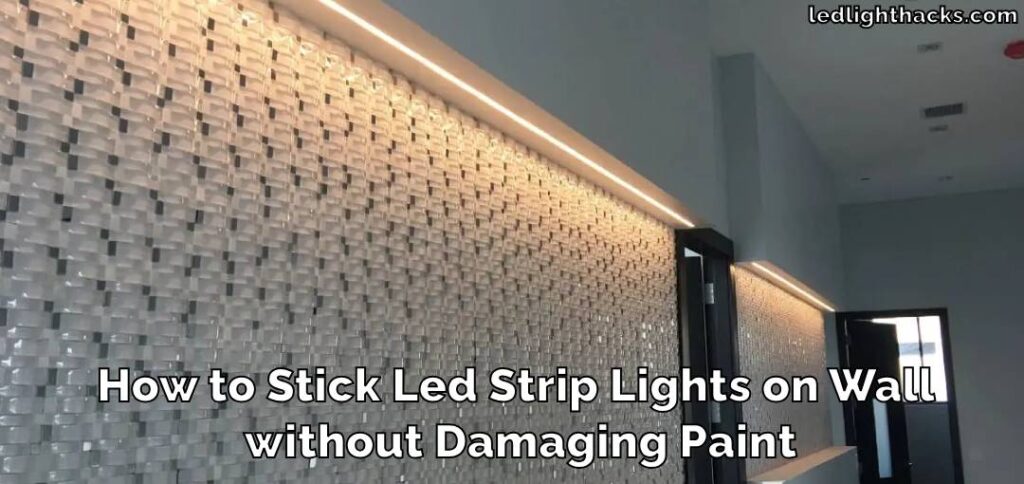
How To Stick LED Strip Lights On Wall Without Damaging Paint
LED light strips have surged in popularity, adorning homes and spaces with their vibrant colors…
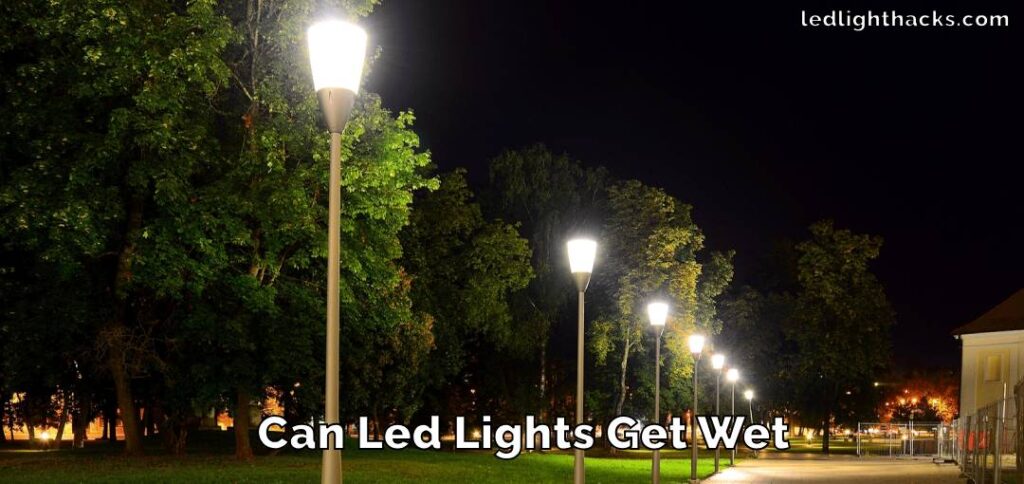
Can Led Lights Get Wet
LED lights are everywhere, from homes to city streets, known for their efficiency and brightness….

Creative Ways to Use LED Strip Lights in Your Home
LED strip lights, those brilliant strips of technology, serve as a beacon of innovation in…

Can Solar Lights Catch Fire
Solar garden lights are your go-to pal for lighting up your backyard oasis while keeping…

What gauge wire for LED lights
When diving into LED lighting, one aspect that might not catch your eye at first…