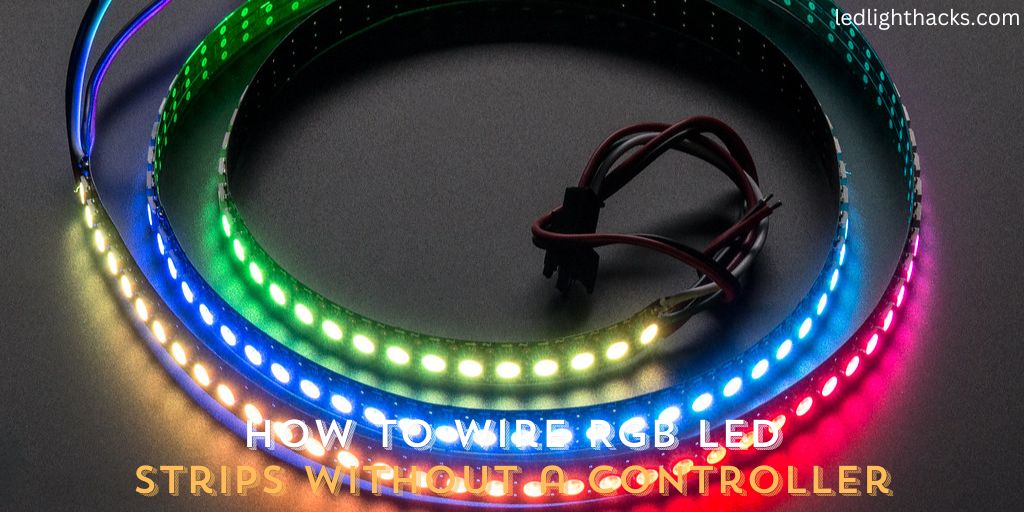
How to Wire RGB LED Strips without a Controller
Today, I’m excited to walk you through a simple and clear guide on how to wire RGB LED strips without using a controller. You might be thinking, “Why skip the controller?” Well, there are several reasons one might choose to go this route. It could be to keep things simple, save a bit of money, or meet the needs of a particular project where a controller just doesn’t fit.
Wiring RGB LED strips directly without a controller might sound a bit daunting, but it’s quite straightforward once you understand the basics. So, let’s jump into the RGB LED strips and learn how to wire RGB LED strips without a controller.
Why You Need to Wire RGB LED Strip without Controller
So, why would you want to wire your RGB LED strip without a controller? First off, it cuts down on costs. Controllers can be expensive, and if you’re working on a large-scale project or just experimenting at home, saving a few bucks here and there is always beneficial.
Secondly, it simplifies the installation process. Without a controller, you’re dealing with fewer components, making the setup less complex.
Also, in certain scenarios like fixed color installations or where space is a constraint, eliminating a controller makes perfect sense. Plus, there’s a certain satisfaction in understanding and controlling the technology with your own hands!
Tools We Need to Wire RGB LED Strip without Controller
Whether you’re a seasoned DIY enthusiast or a beginner, having the correct tools is crucial for a successful and safe installation. Let’s check out what tools we’ll need to wire an RGB LED strip without a controller.
- RGB LED Strip: This is the star of the show. Make sure you have the length you need for your project.
- Power Supply: It’s vital to use a power supply that matches the voltage of your LED strip. This ensures your LEDs work correctly and safely.
- Wire Cutters: A handy tool for cutting wires and LED strips to the desired length.
- Soldering Iron and Solder: If you’re up for it, soldering provides a more permanent and stable connection. Alternatively, LED connectors are a great solder-free option.
- Electrical Tape or Heat Shrink Tubing: These are essential for insulating your connections, preventing any short circuits, and ensuring everything is safe.
Each plays a unique role in making your project a shining success. The key is to proceed with patience and attention to detail, ensuring each connection is secure and safe. Happy DIY-ing!
How to Wire RGB LED Strips without a Controller
Wiring RGB LED strips without a controller is a handy skill for creating simple lighting setups or when you need a constant color output. Here’s a step-by-step guide on how to do it:
Understand the Basics
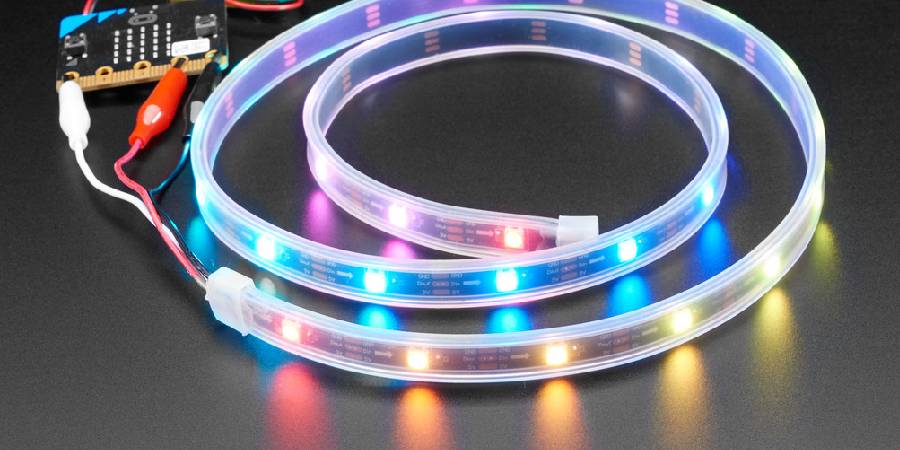
RGB LED strips have four wires— one for each color (Red, Green, Blue) and one for the common positive (+) or negative (-) depending on the strip’s design. Without a controller, you will be manually connecting these to a power source.
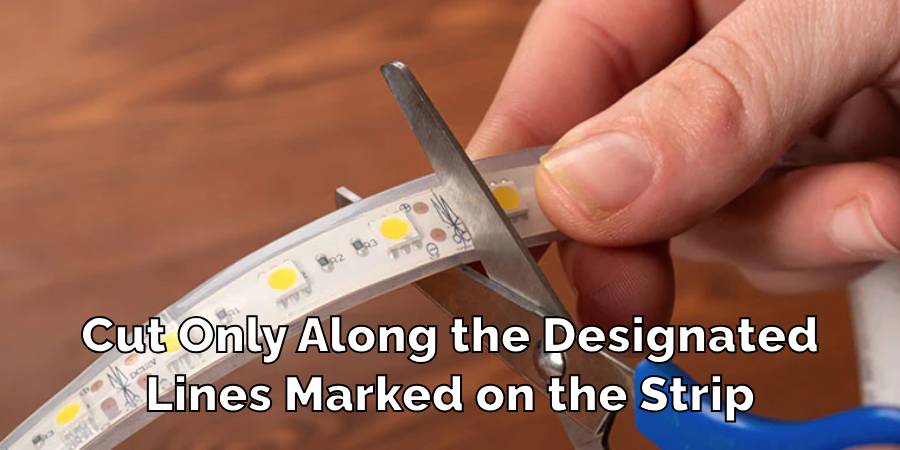
Measure and Cut the LED Strip
f you need to adjust the length of your LED strip, cut it at the designated cut marks to ensure you don’t damage it.
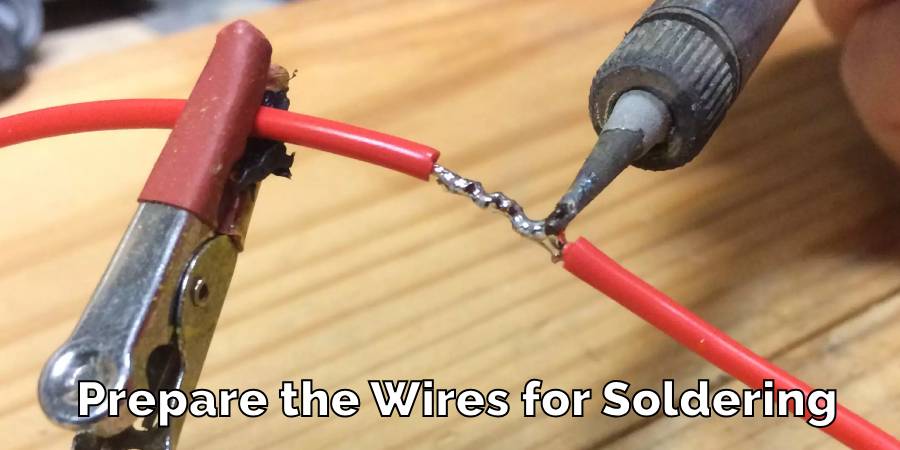
Strip and Tin the Wires
If your LED strip doesn’t come with connectors, you’ll need to prepare the wires for soldering. Gently strip the ends of the wires to expose the metal. Then, apply a bit of solder to these exposed ends – a process known as ‘tinning’. This makes soldering them to the LED strip easier.
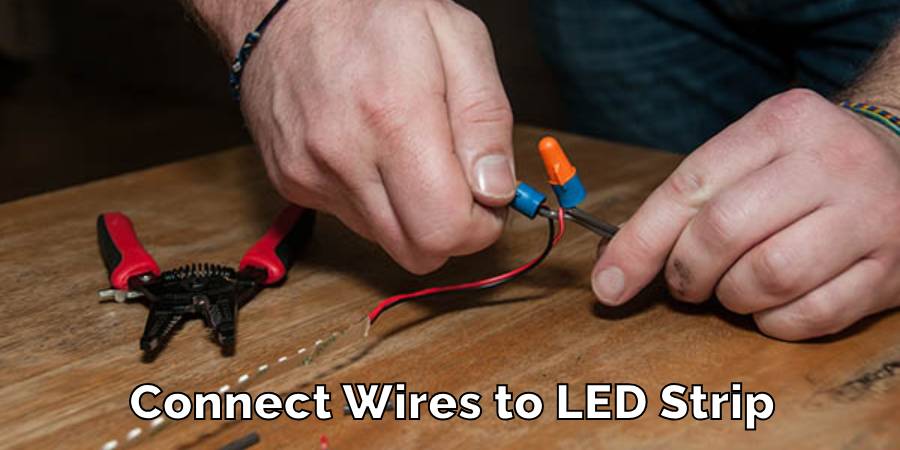
Solder or Connect Wires to LED Strip
Attach these tinned wires to the corresponding pads on the LED strip. Ensure each wire matches the correct color pad on the strip. If soldering is not your preference, use clip-on connectors to make the connection. Ensure they are securely fastened.
Connect to Power Supply
Decide which color(s) you want to light up. You can connect just one, two, or all three colors to the power supply wires. For a mixed color, you will need to connect more than one color wire to the power supply. Use wire connectors or electrical tape to secure the connections. For example, connecting all three colors (R, G, B) to the power will give you white light.
Test Your Setup
Before making anything permanent, plug in your power supply briefly to test if the LED strip lights up as expected. Be cautious and ensure all wires are securely connected to prevent short circuits.
Insulate the Connections
Once you’re satisfied with the lighting, make sure all connections are secure and insulated with electrical tape or heat shrink tubing to prevent any shorts.
Install Your LED Strip
Place your LED strip in the desired location. Most strips come with an adhesive back, which you can use to stick the strip to most surfaces.
Remember, without a controller, your LED strip will only display the color(s) you’ve wired directly to the power supply. This method is great for static setups or when you need consistent lighting without the need for changing colors or patterns.
Precautions While Wiring RGB LED Strip without Controller
When you’re getting ready to wire your RGB LED strip without a controller, it’s crucial to keep safety at the forefront. Here are some straightforward, easy-to-follow safety tips:
Always Disconnect Power Supply
- Before you start, make sure the power supply is unplugged. This is a critical step to avoid any electric shocks or accidents.
Handle Soldering with Care
- Soldering irons get very hot, so handle them with caution.
- Work on a heat-resistant surface.
- Keep flammable materials away.
- Allow the soldering iron to cool down before storing it.
Insulate All Connections
- Use electrical tape or heat shrink tubing to cover any exposed wires.
- Proper insulation is key to preventing short circuits, which can be harmful and damage your LED strip.
Choose the Correct Power Supply
- The power supply must match the voltage requirements of your LED strip.
- Using the wrong power supply can lead to overheating or insufficient lighting.
Be Mindful of Polarity
- When connecting wires to the power supply, ensure the positive and negative terminals are correctly aligned.
- Incorrect polarity can cause your LED strip not to light up or even get damaged.
Test Before Finalizing
- After wiring, but before final installation, test your LED strip.
- This helps catch any issues early, ensuring everything works as it should.
Remember, taking these precautions isn’t just about following rules; it’s about ensuring your DIY project is successful and safe. So, take your time, follow these steps, and enjoy the process of bringing light to your space!
FAQ’s
Do You Need a Controller for Led Strip Lights?
Yes, most LED strips require a controller. This is because the controller allows you to manage the colors, intensity, and sometimes even patterns of the lights. Think of it as a remote control for your LED strips, making them more versatile and fun to use.
How Do LED Strip Lights Get Power?
LED strip lights are usually powered through a direct connection to a power source. This could be a standard wall outlet or a special power adapter designed for the voltage and current needs of the strip. It’s like plugging in any other device in your home.
Are LED Strip Lights Safe?
Generally, yes, they are safe. They produce less heat compared to traditional bulbs, reducing the risk of overheating. However, it’s important to buy quality strips from reputable brands and ensure they are installed correctly to avoid any electrical issues.
How Long Do LED Strip Lights Last?
These lights have a pretty long lifespan. On average, they can last up to 50,000 hours. That’s a lot longer than many traditional light bulbs! This means you won’t have to replace them as often, saving you time and money in the long run.
Do LED Strips Use a Lot of Electricity?
Not really! LED strips are known for their energy efficiency. They consume much less power compared to conventional lighting solutions, which means using them can help lower your electricity bills over time.
Conclusion
Setting up an RGB LED strip without a controller is not just possible, it’s a great learning experience. It’s simpler than you might think, and it won’t cost you much. By doing this, you get to understand exactly how your lights work. This article has explored how to wire RGB LED strips without a controller.
The most important thing is to plan carefully and take your time during the setup. This way, you can customize your space with lights that match your style. Plus, it’s a satisfying feeling to see your room lit up by the lights you’ve set up yourself.
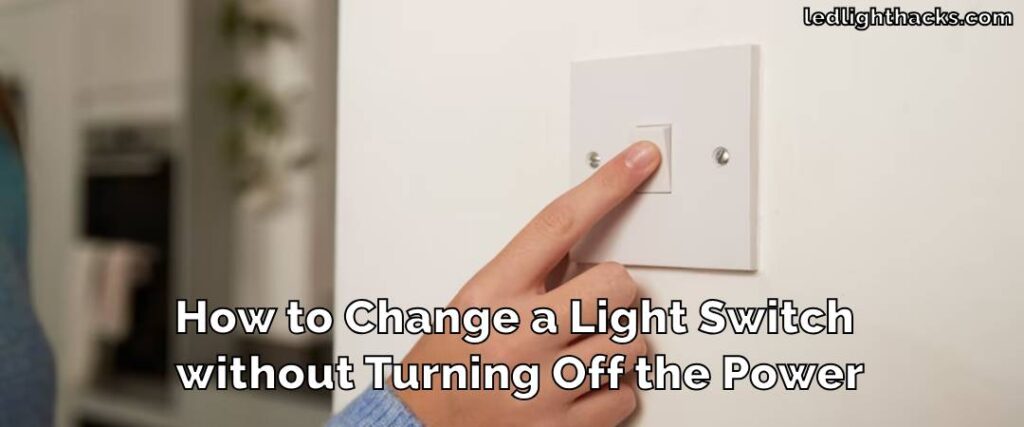
How to Change a Light Switch without Turning Off the Power
Mastering the skill of changing a light switch without turning off the power holds great…
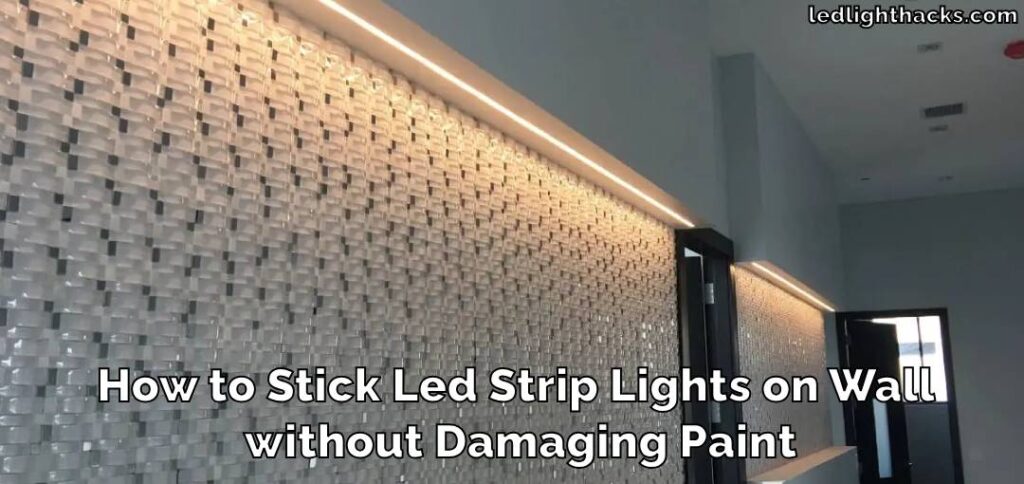
How To Stick LED Strip Lights On Wall Without Damaging Paint
LED light strips have surged in popularity, adorning homes and spaces with their vibrant colors…
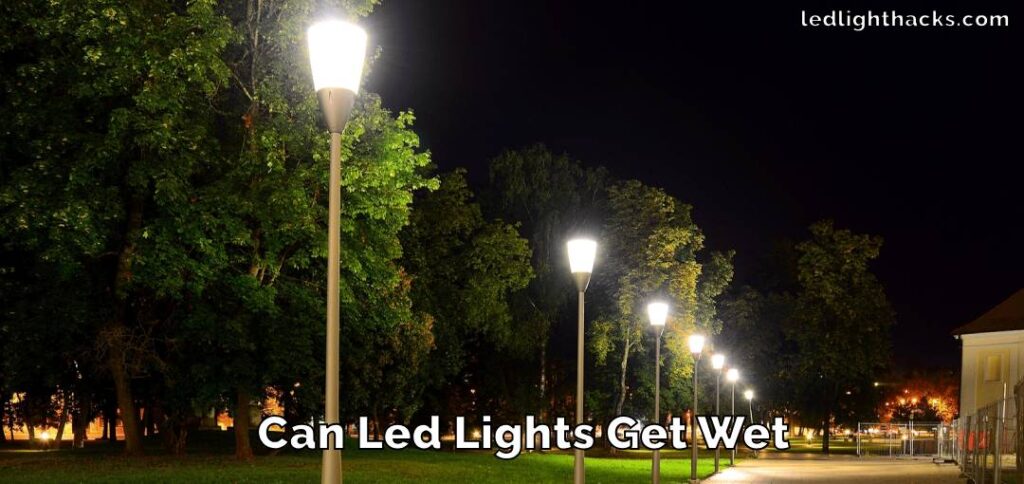
Can Led Lights Get Wet
LED lights are everywhere, from homes to city streets, known for their efficiency and brightness….

Creative Ways to Use LED Strip Lights in Your Home
LED strip lights, those brilliant strips of technology, serve as a beacon of innovation in…

Can Solar Lights Catch Fire
Solar garden lights are your go-to pal for lighting up your backyard oasis while keeping…

What gauge wire for LED lights
When diving into LED lighting, one aspect that might not catch your eye at first…